
Well I thought I would show you an easy way to make a variety of YARN pom pom sizes!
You will need:
Yarn ( I usually use yarn found, thrifted, or repurposed, and given to me by others)
Scissors
Fingers
1. Grab yarn and wrap around two fingers, tight enough so it isn't floppy, but please let your circulation do its thing!

2. Wrap the yarn anywhere between 50 and a 150 times. This pom is pretty small and was wrapped 50 times. For bigger ones I normally use multiple strands, like 3 different yarns, wrapped 50 times=150 total wraps.
3. Gently slide the yarn from your fingers, being sure to keep the bundle intact.

4. Cut a piece of yarn about 5 inches long.
5. Place the bundle of yarn on top of your single piece of yarn.


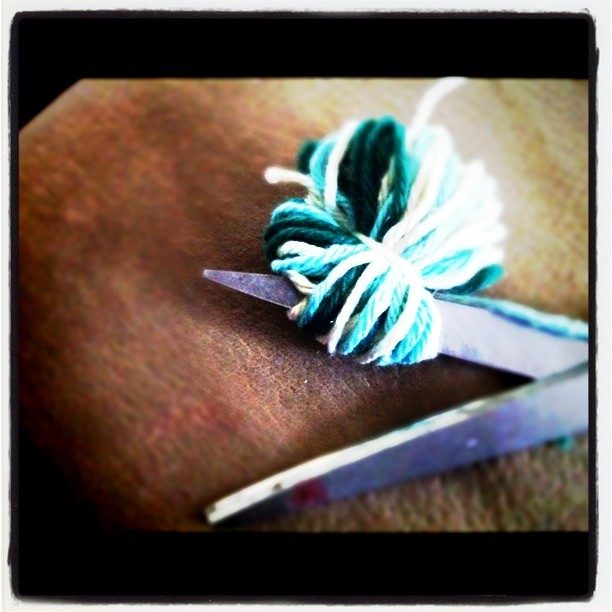
7. Trim the loops above and below the single yarn you just tied. This pom is pretty small so they are really obvious, but when you get into making a bigger one the trimming will take some attention because a few loops get lost in the bushyness.
this is what you will have, a floppy pom pom:

8. Now is time to give your pom pom a 'high and tight'...or trim it up. It can be left like above, but to trim it up just snip away until it is even and will feel tight and full. A tip is to flatten the pom and trim around the edges, fluff repeat in different directions for a nice sphere.

No comments:
Post a Comment
Share some pom pom thoughts please!